The background is a combination of a couple of colored textures blended with a vivid purple solid layer in different blend modes. I then put the background through Topaz Impressions and added a custom preset (my van Gogh preset) at about 65% strength just to knock off the edges of the blends and soften the colors. I reduced the opacity of the Topaz layer over the original to about 80%. I then put a canvas pattern over this background in a soft light mode, low opacity.
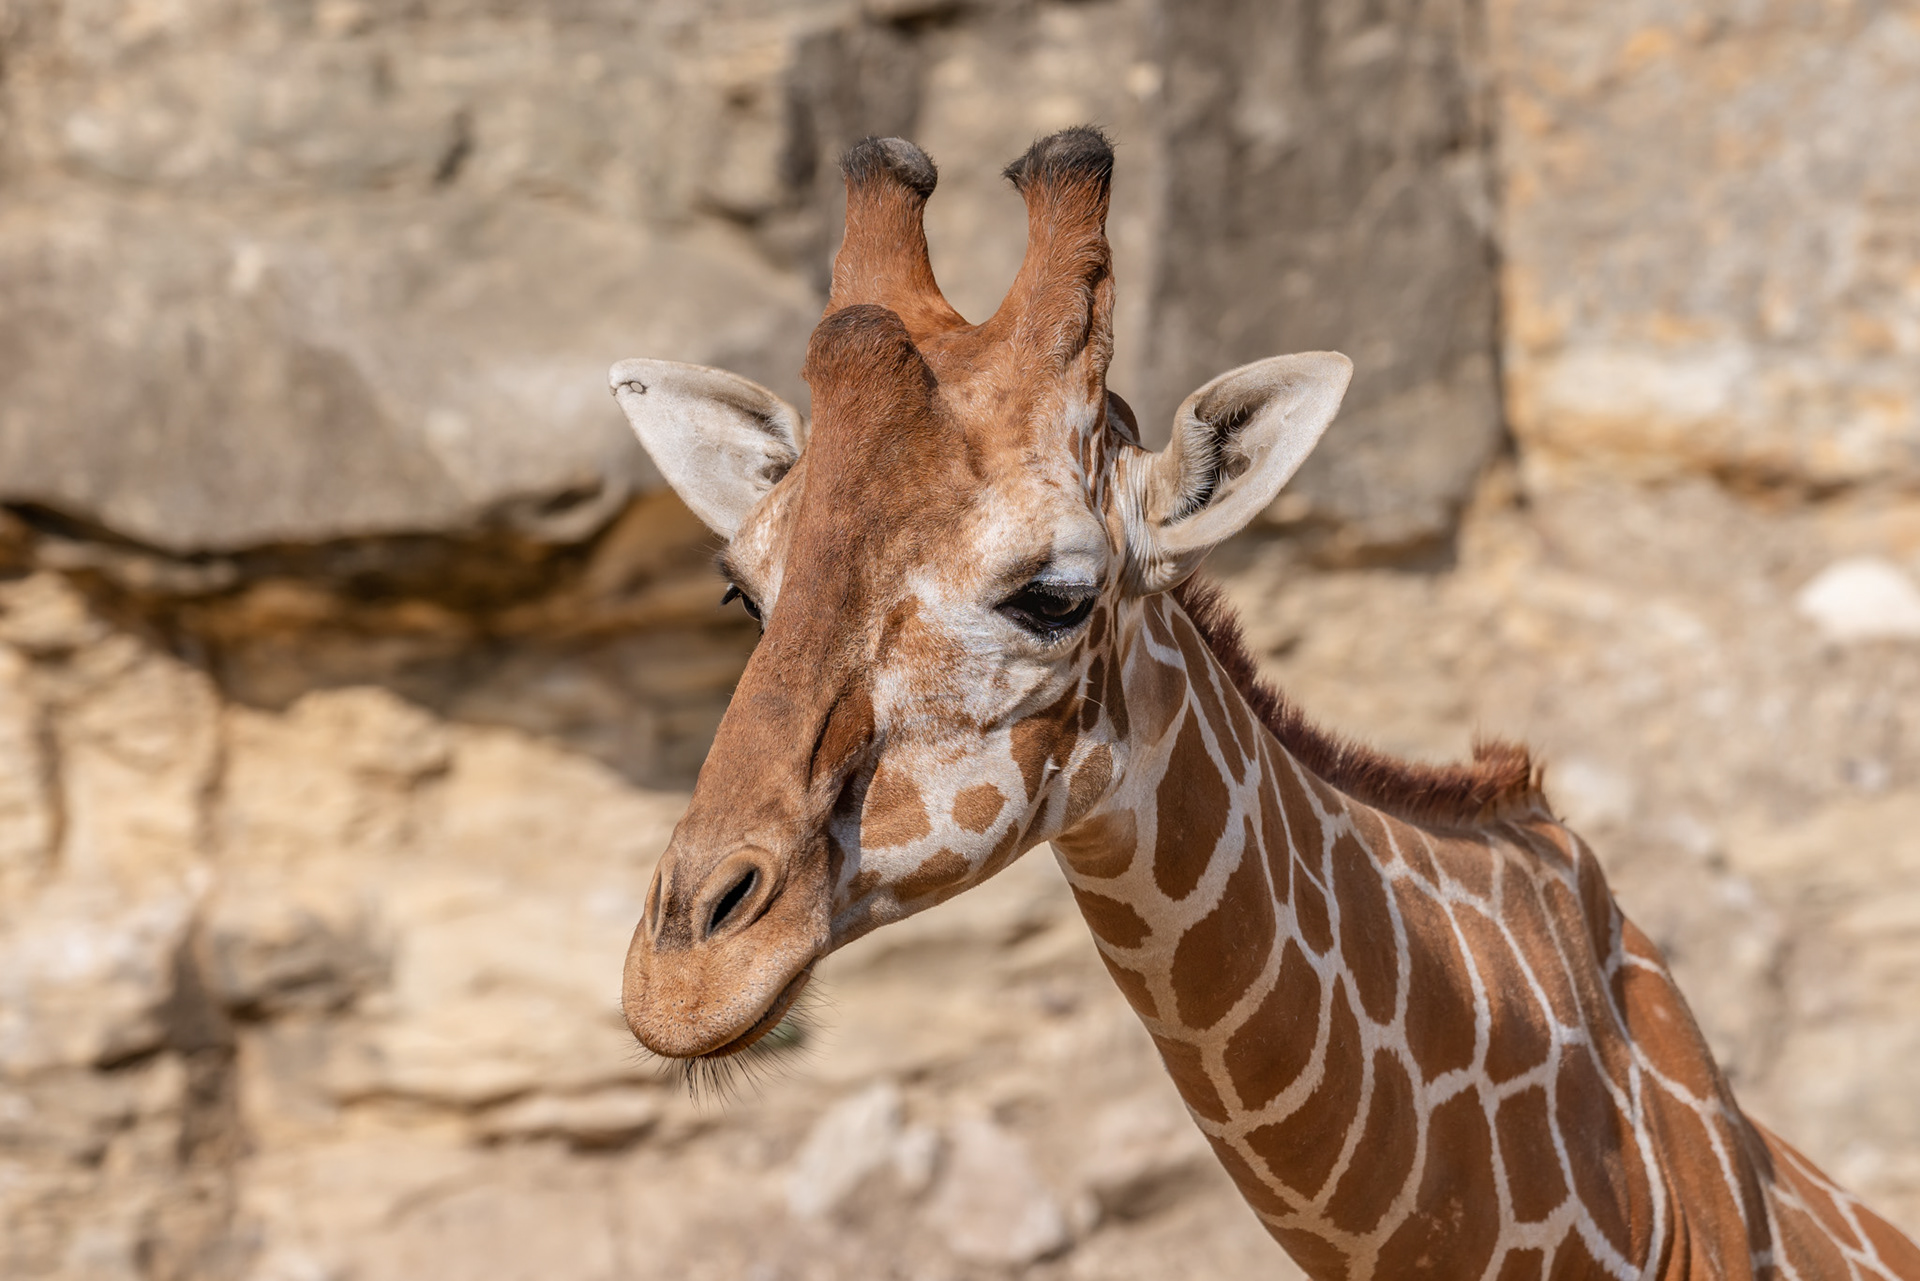
The giraffe was cut out using my new technique of repainting the fur on the layer mask and cloning the edges back in to match the fur around it. I brought the cutout into the background file and applied my usual recipe using the NIK Collection of Tonal Contract, Detail Extraction and Pro Contrast. Back in Photoshop I adjusted the opacity of the NIK adjustment, added a high pass filter and merged the layers ready for dodging and burning using my specially designed curves with fur brush technique to really stand up the fur and pop the 3D effect. After the dodge and burn, I added the levels adjustments for lighting.
As final steps I have a method of selecting just the 3 pixel border of the cutout, feathering the edge and adding a .03px blur so that the cutout blends seamlessly into the background. I finish with a 2-layer blur and softlight technique with masking out the eyes and other areas that must remain sharp. Add the signature and your done.
Here are the images I used in this composite:


